Quick links to popular guides
Browse via device topic
Help & support guides for your LG G6
I can't send and receive email
If you can't send and receive email, there may be several causes of the problem.
To send and receive email using POP3, your phone needs to be correctly set up for email.
Solution: Set up your phone for POP3 email
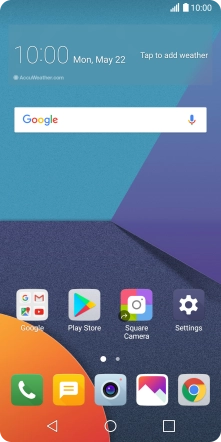
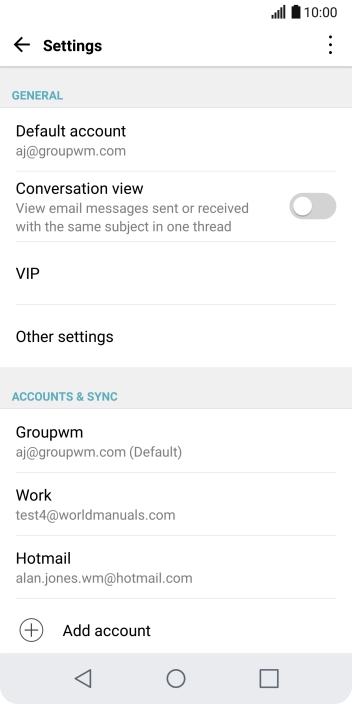
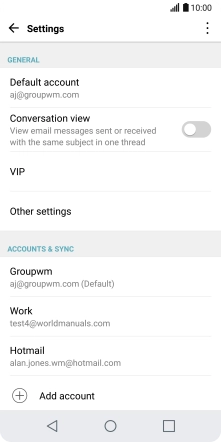
Press Settings.

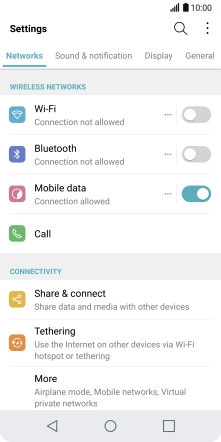
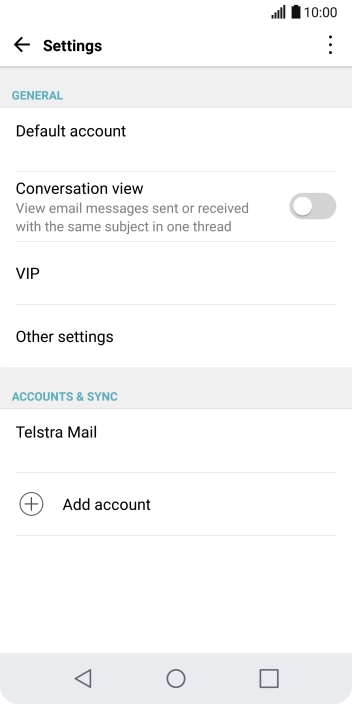
Press General.
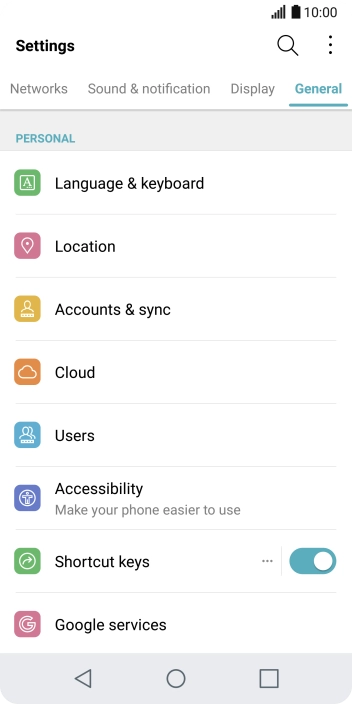
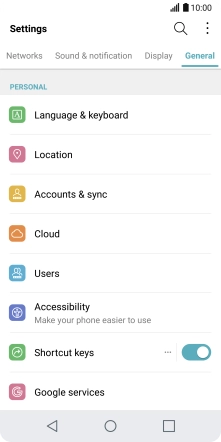
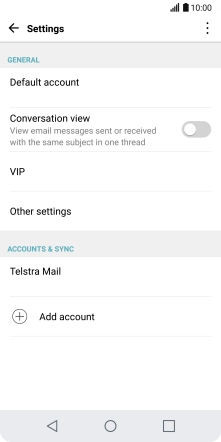
Press Accounts & sync.

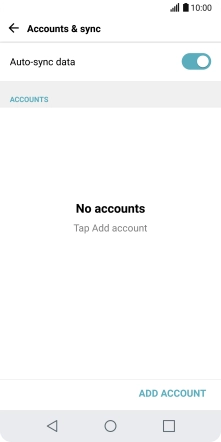
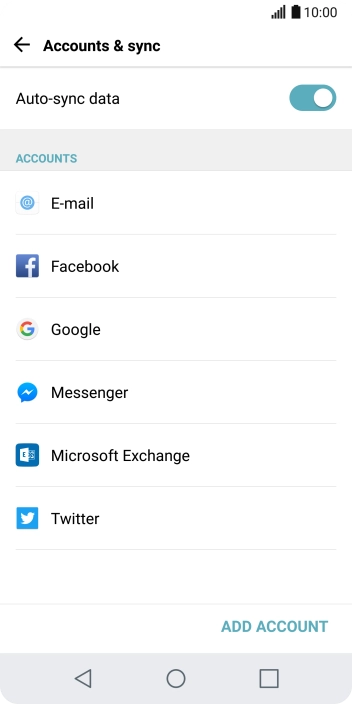
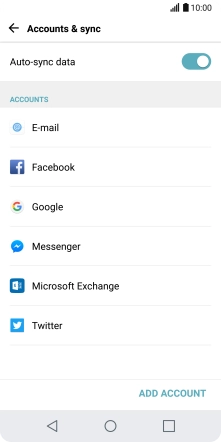
Press ADD ACCOUNT.
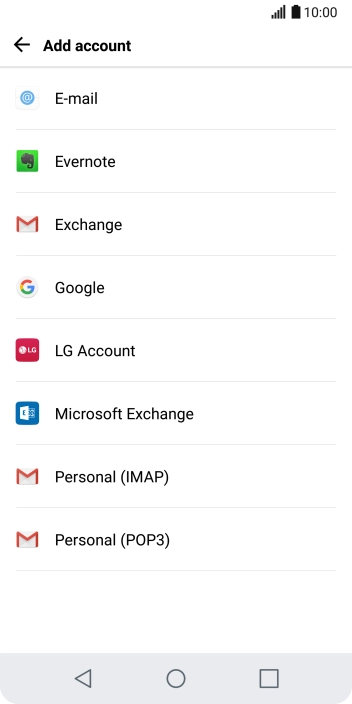

Press E-mail.
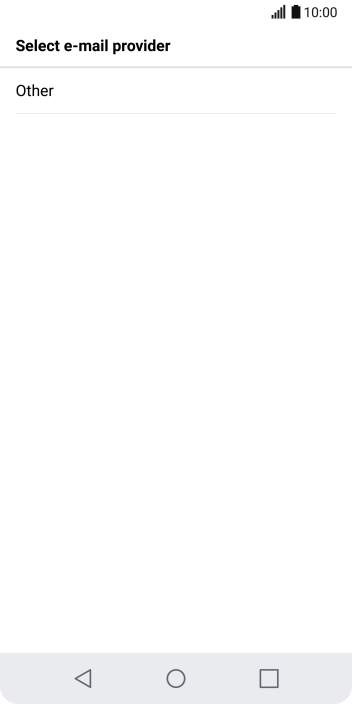

Press Other.
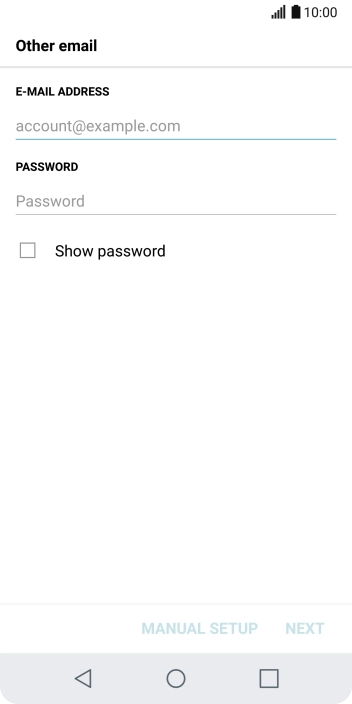

Press the field below "E-MAIL ADDRESS" and key in your email address.
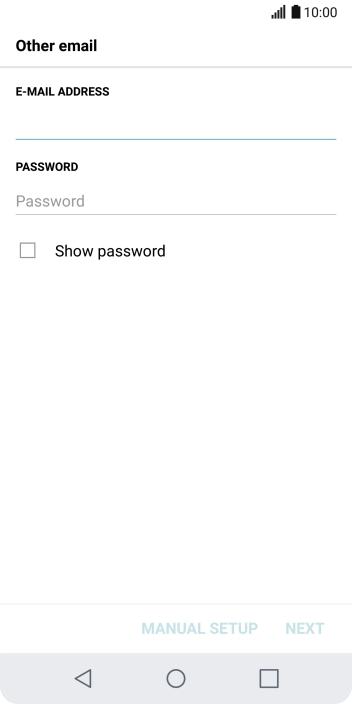
Press the field below "PASSWORD" and key in the password for your email account.

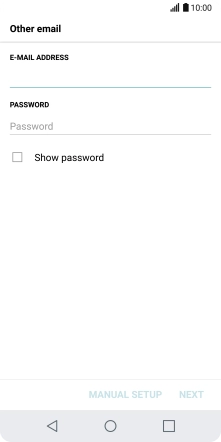
Press NEXT.

If this screen is displayed, you email account has been recognised and set up automatically. Follow the instructions on the screen to key in more information and finish setting up your phone.
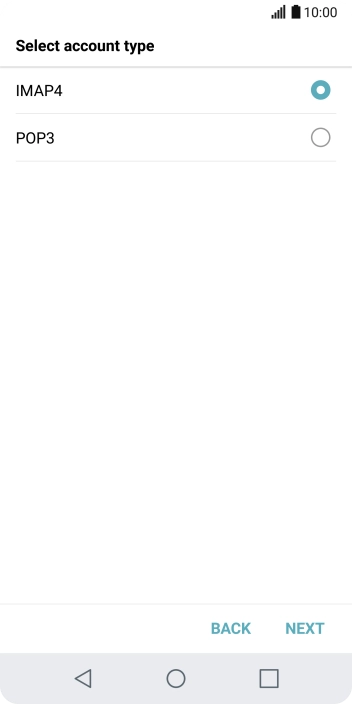
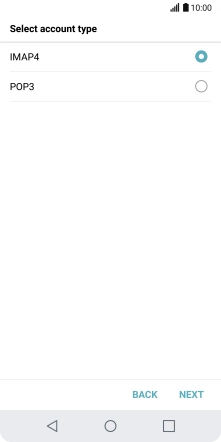
Press POP3.
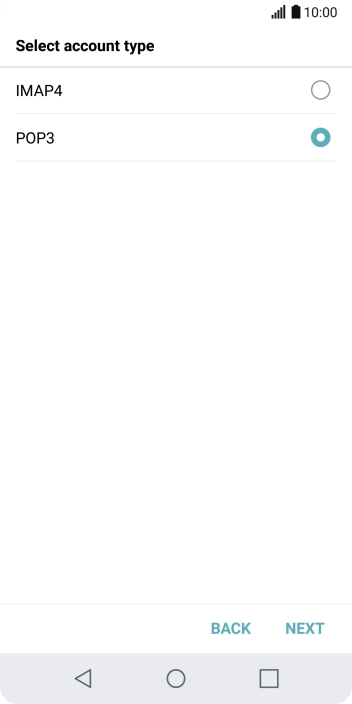
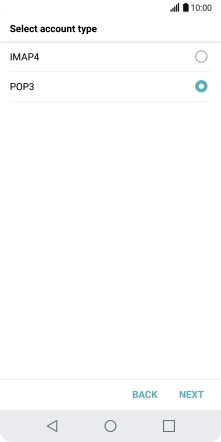
Press NEXT.
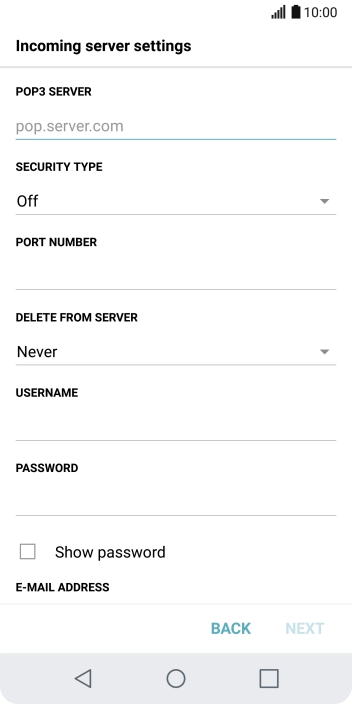
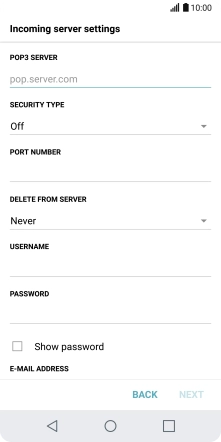
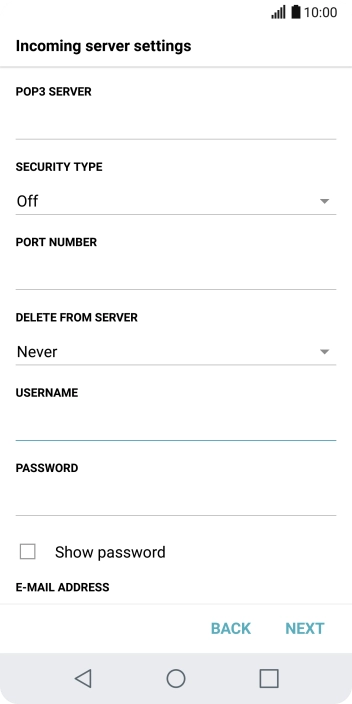
Press the field below "POP3 SERVER" and key in the name of your email provider's incoming server.
Press the field below "PORT NUMBER" and key in 110.

Press the drop down list below "DELETE FROM SERVER".

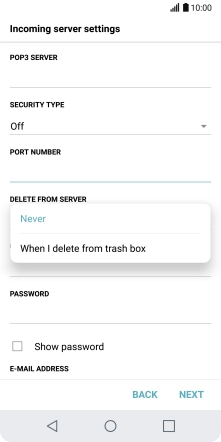
Press Never to keep email on the server when you delete them on your phone.
Press When I delete from trash box to delete email on the server when you delete them on your phone.
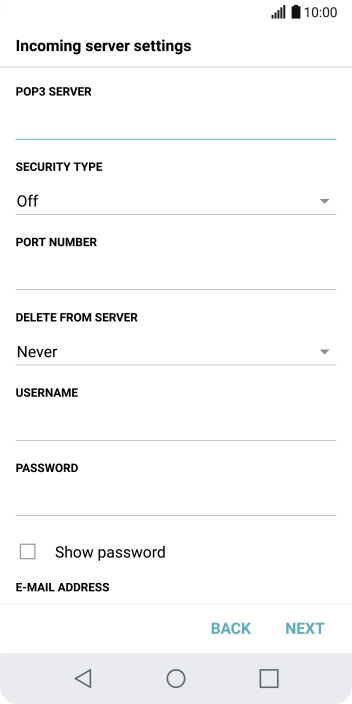
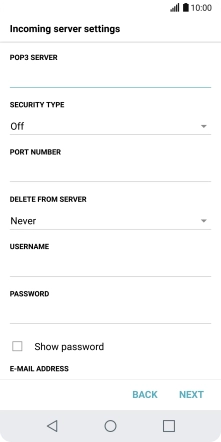
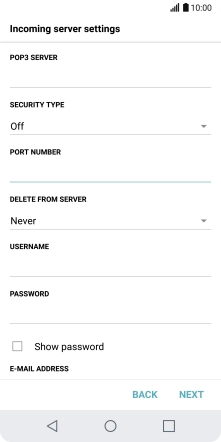
Press the field below "USERNAME" and key in the username for your email account.

Press NEXT.
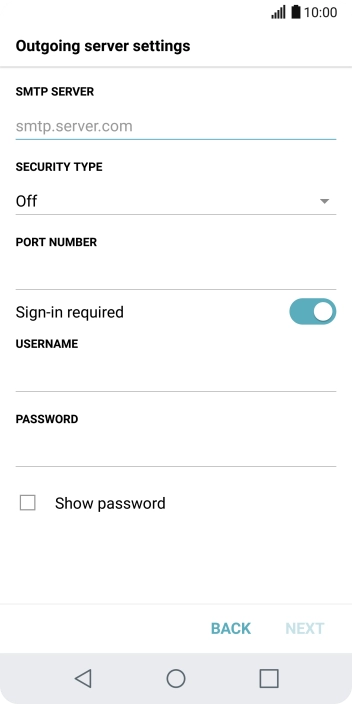
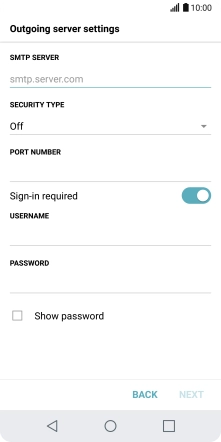
Press the field below "SMTP SERVER" and key in the name of your email provider's outgoing server.

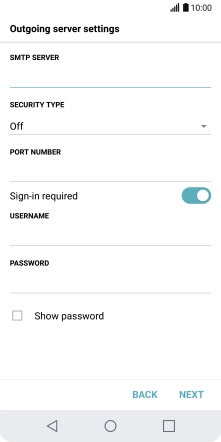
Press the field below "PORT NUMBER" and key in 25.
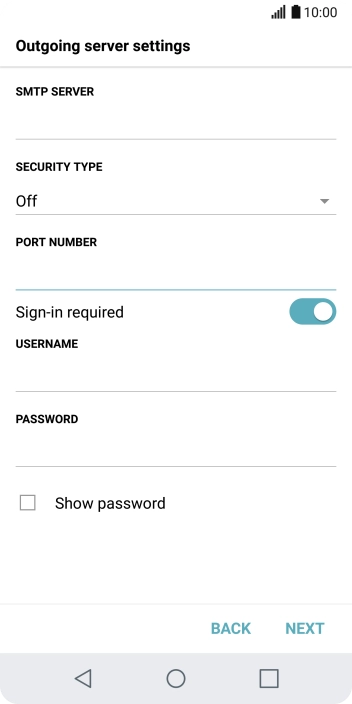

Press the indicator next to "Sign-in required" to turn on the function.

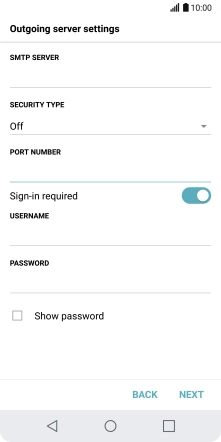
Press the field below "USERNAME" and key in the username for your email account.
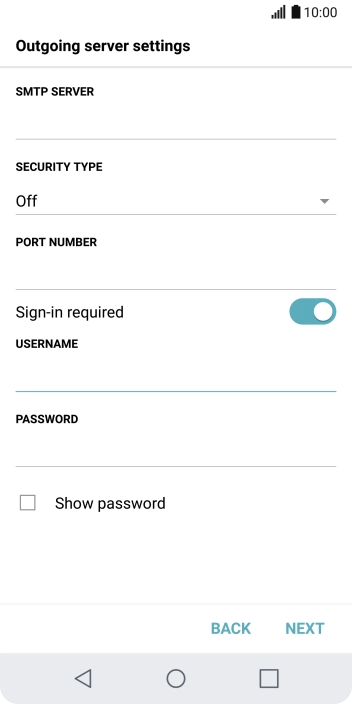

Press the field below "PASSWORD" and key in the password for your email account.

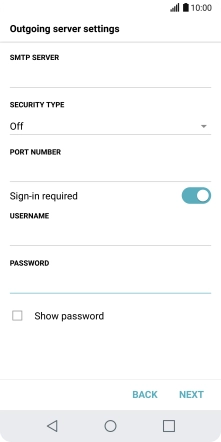
Press NEXT.
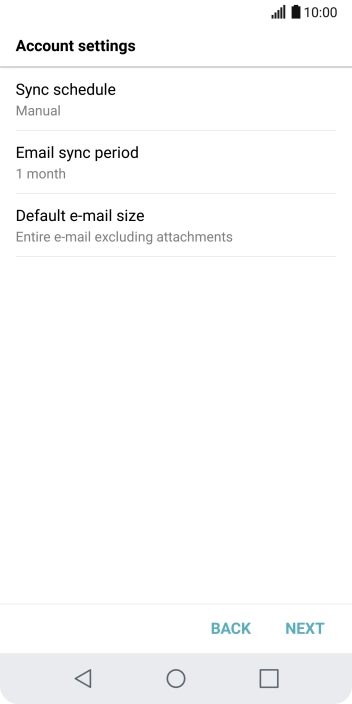
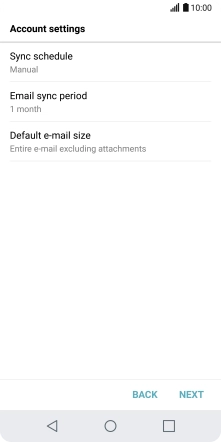
Press Sync schedule.
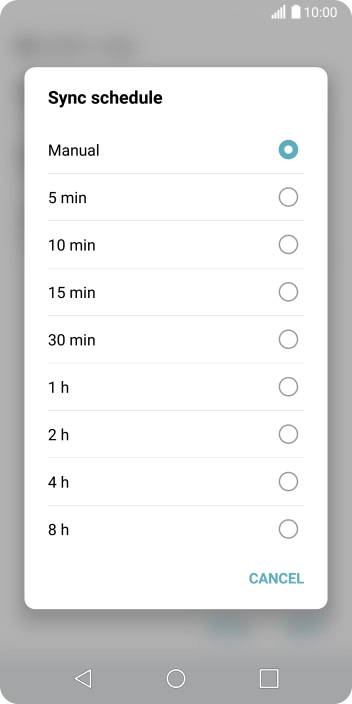
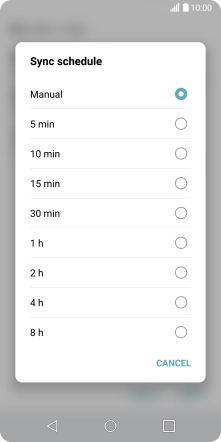
Press the required setting.
Press NEXT.
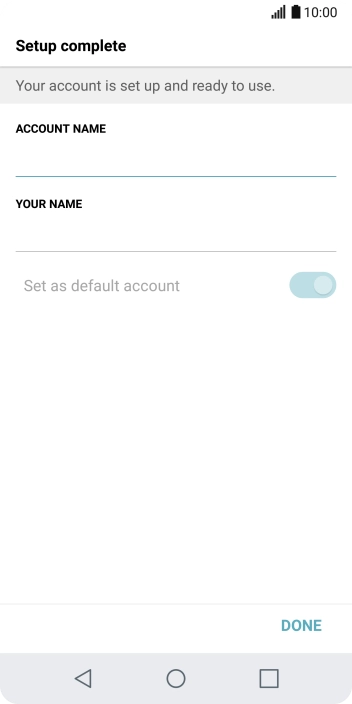
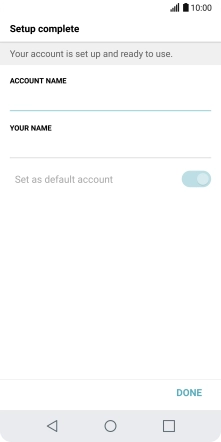
Press the field below "ACCOUNT NAME" and key in the required name.
Press the field below "YOUR NAME" and key in the required sender name.
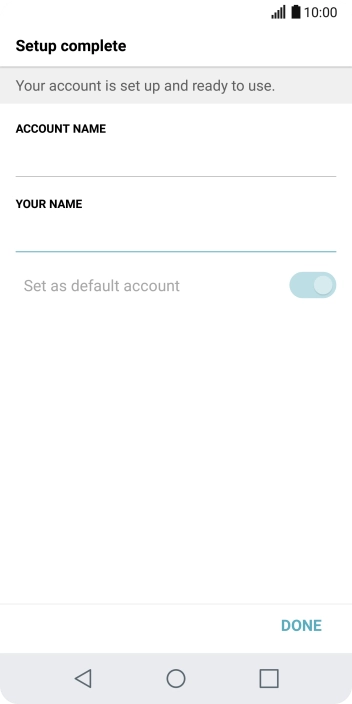
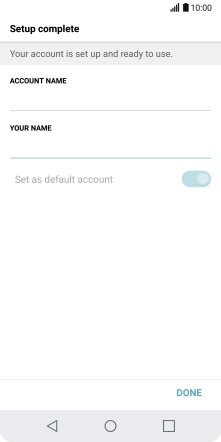
Press DONE.
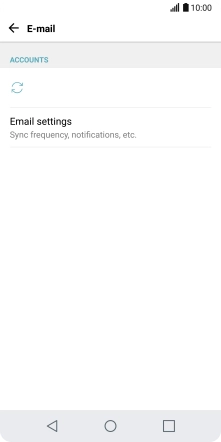
Press E-mail.
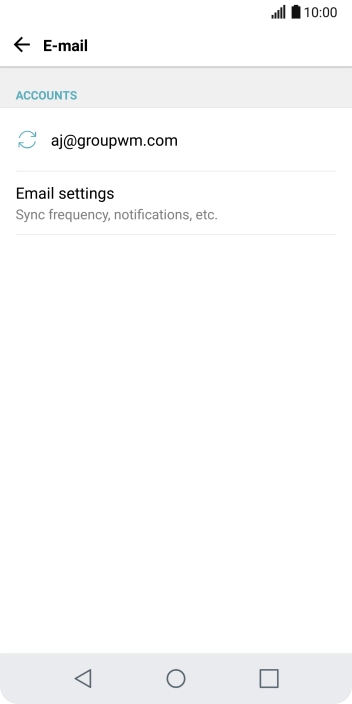

Press Email settings.
Press the required email account.
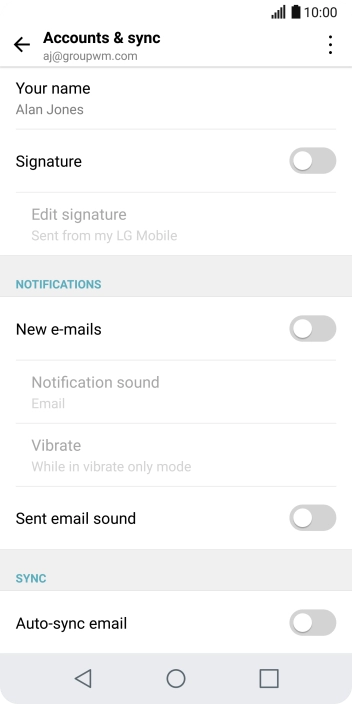
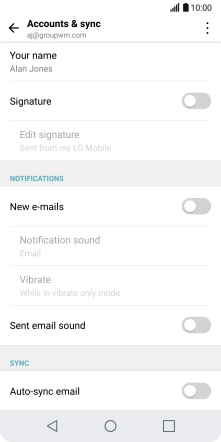
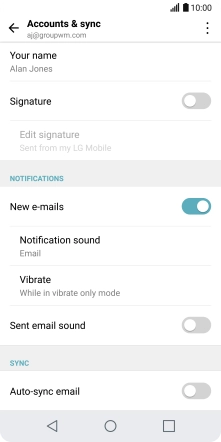
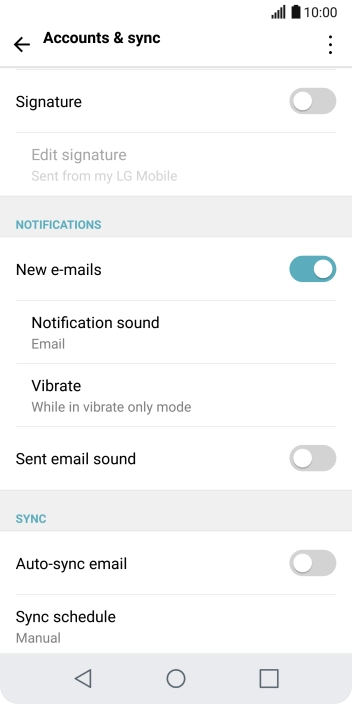
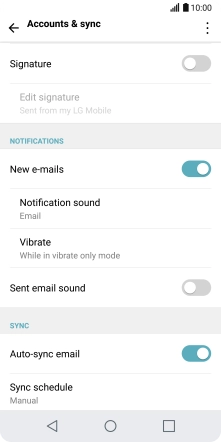
Press the indicator next to "New e-mails" to turn the function on or off.

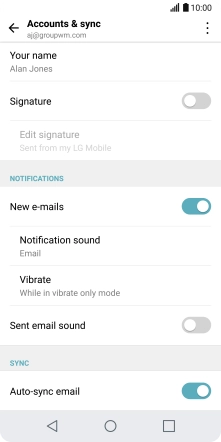
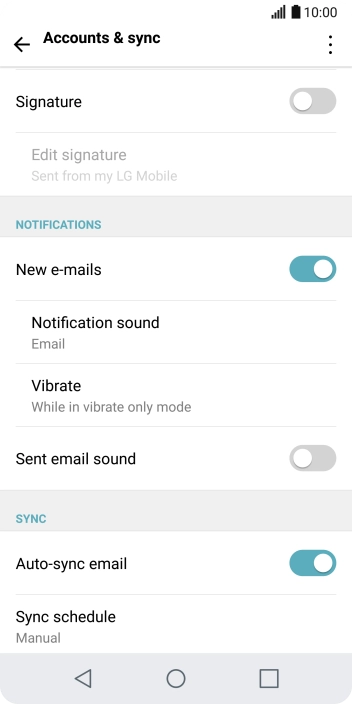
Press the indicator next to "Auto-sync email" to turn on the function.

Press the Home key to return to the home screen.
Step 1 of -
Step 1 of -
To send and receive email using Exchange, your phone needs to be correctly set up for Exchange email.
Solution: Set up your phone for Exchange email
Press Settings.
Press General.
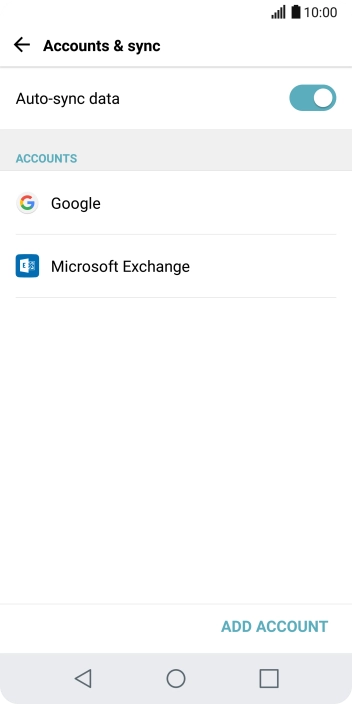
Press Accounts & sync.
Press ADD ACCOUNT.
Press Microsoft Exchange.
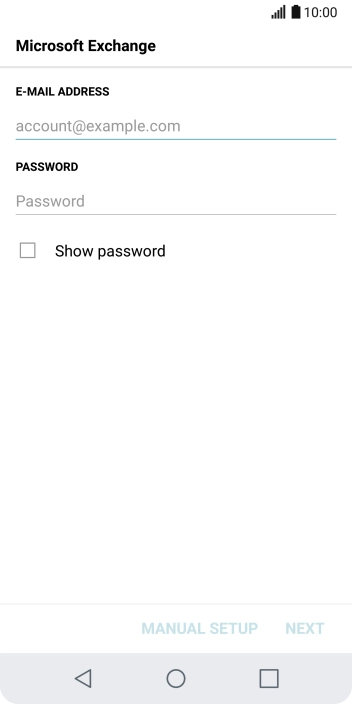

Press the field below "E-MAIL ADDRESS" and key in your email address.


Press the field below "PASSWORD" and key in the password for your email account.
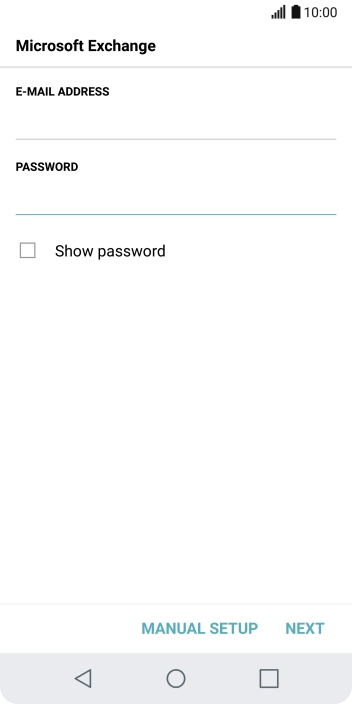

Press NEXT.
If this screen is displayed, you email account has been recognised and set up automatically. Follow the instructions on the screen to key in more information and finish setting up your phone.


Press the field below "SERVER ADDRESS" and key in the server address.
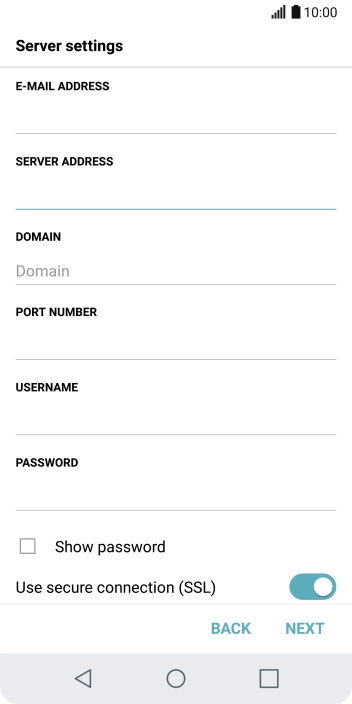
Press the field below "DOMAIN" and key in the domain name.


Press the field below "PORT NUMBER" and key in the required port number.

Press the field below "USERNAME" and key in the username.

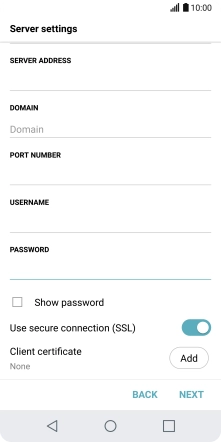
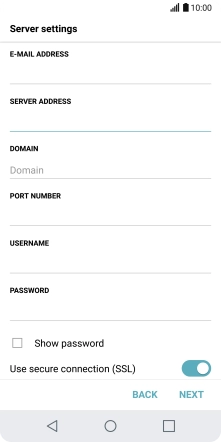
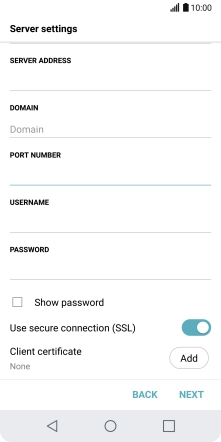
Press the indicator next to "Use secure connection (SSL)" to turn the function on or off.
If you turn on the function, press Add and follow the instructions on the screen to install the required certificate.

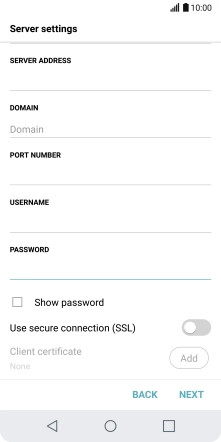
Press NEXT.


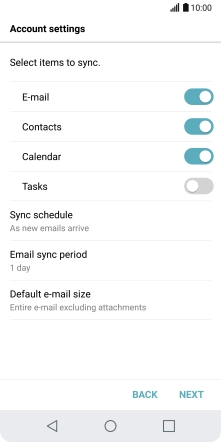
Press the indicator next to "E-mail" to turn the function on or off.
Press the indicator next to "Contacts" to turn the function on or off.
Press the indicator next to "Calendar" to turn the function on or off.
Press Sync schedule.

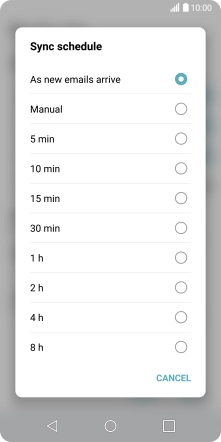
Press the required setting.
Press Email sync period.
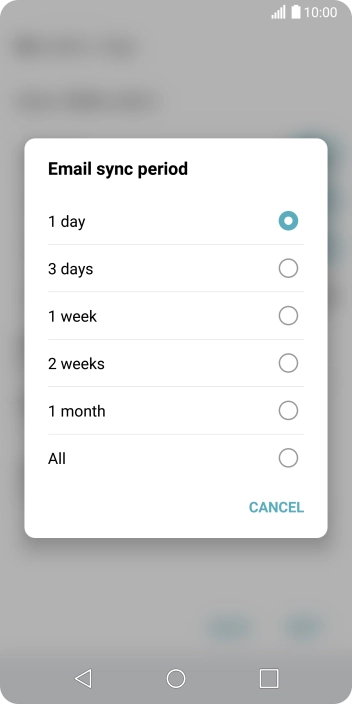
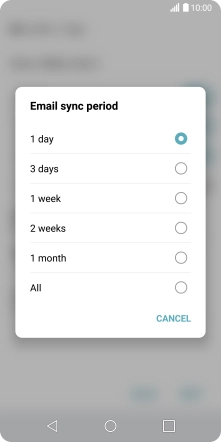
Press the required setting.
Press NEXT.

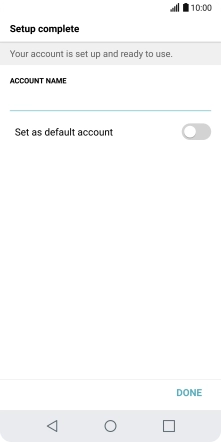
Press the field below "ACCOUNT NAME" and key in the required name.
Press DONE.

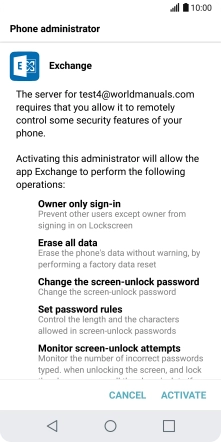
Press ACTIVATE.

Press the Home key to return to the home screen.
Step 1 of -
Step 1 of -
To send an email, it needs to be written and sent correctly.
Solution: Write and send email
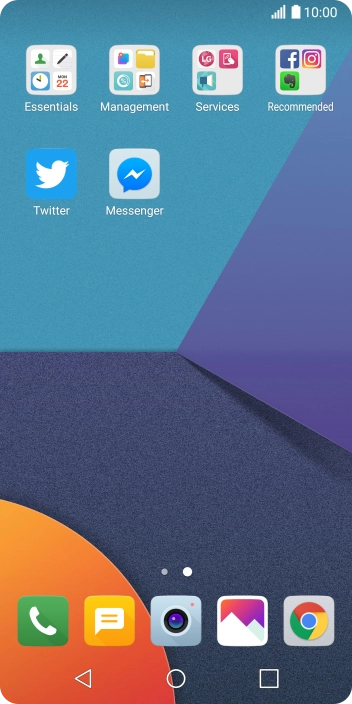

Press Essentials.
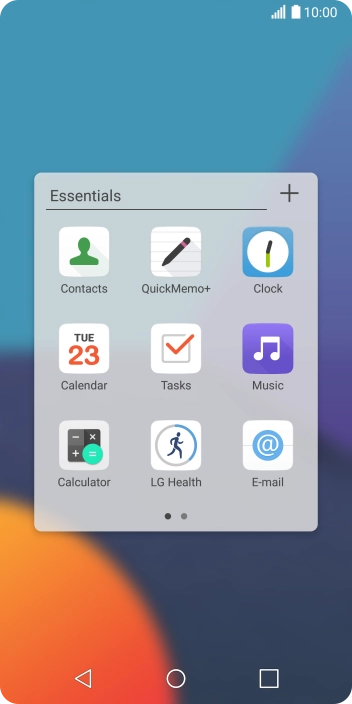
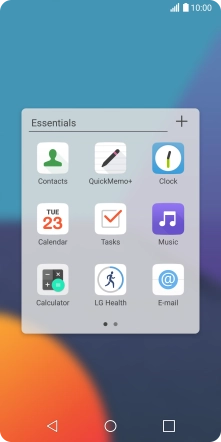
Press E-mail.

Slide your finger right starting from the left side of the screen.

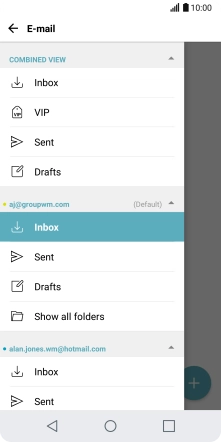
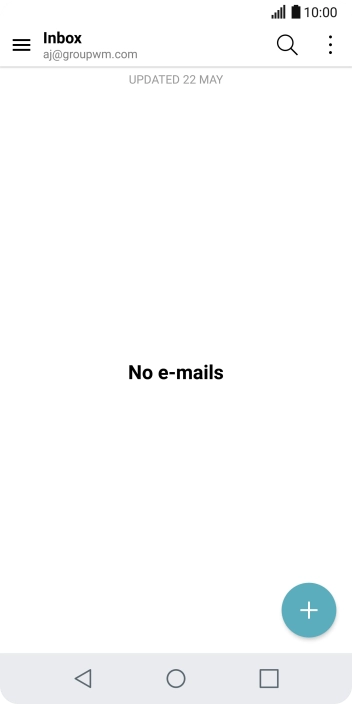
Press Inbox below the required email account.
Press the new email icon.

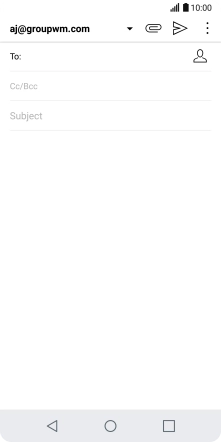
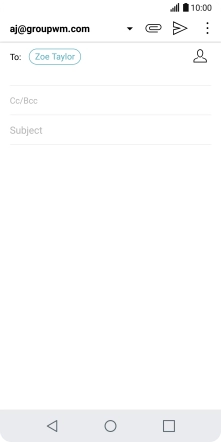
Press the search field and key in the first letters of the recipient's name.
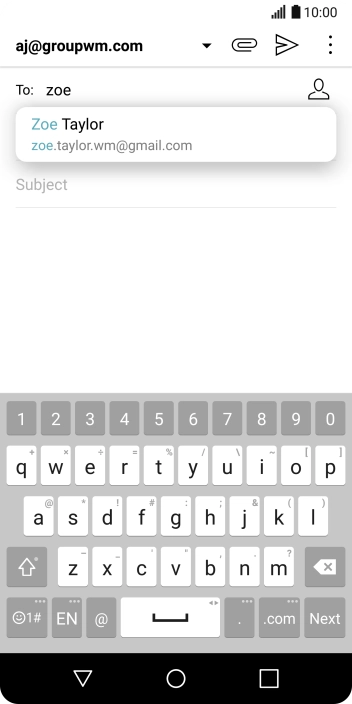

Press the required contact.
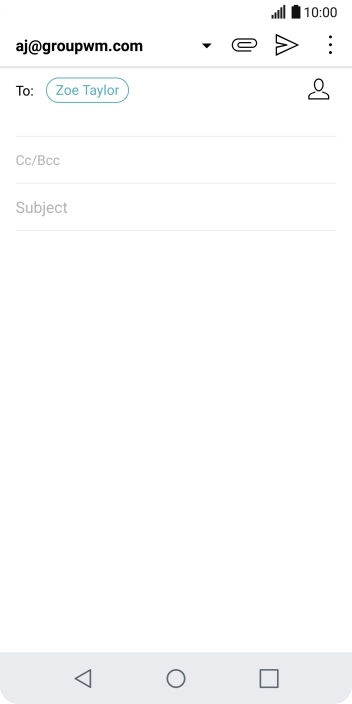
Press Subject and key in the required subject.

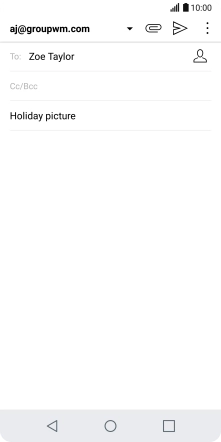
Press the text input field and write the text for your email.


Press the attachment icon.

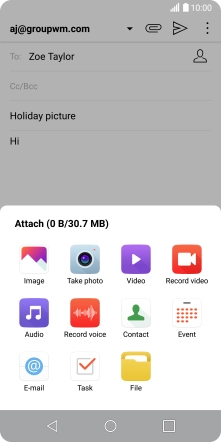
Press File and go to the required folder.
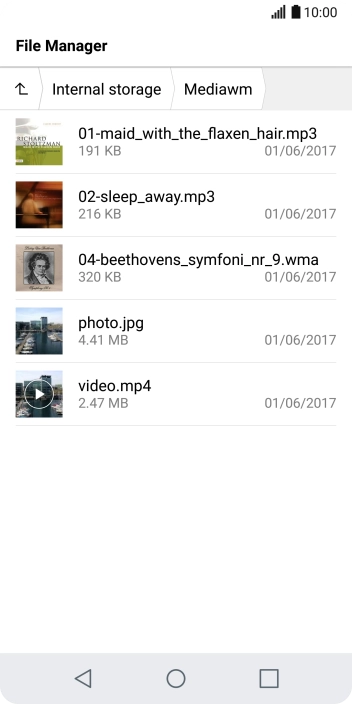

Press the required file.
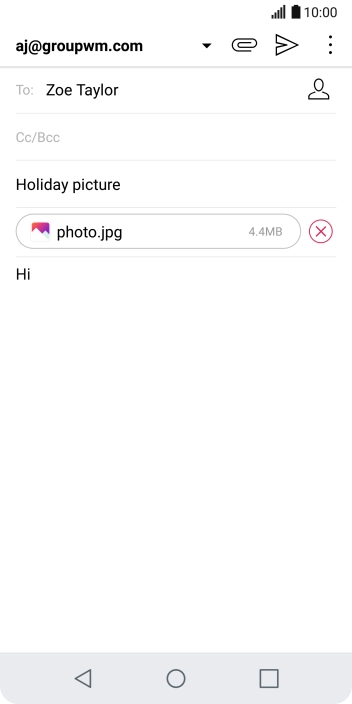
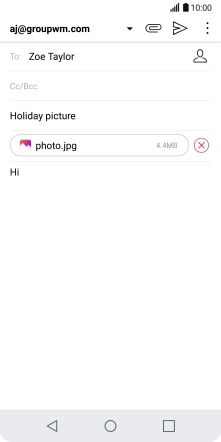
Press the send icon when you've finished your email.
Press the Home key to return to the home screen.
Step 1 of -
Step 1 of -
Depending on which mobile network or Wi-Fi network you're connected to, your provider's email servers may be unavailable.
Solution: Contact your email provider for the correct settings for the incoming or outgoing server.
To send and receive email, your phone needs to be correctly set up for Telstra Mail.
Solution: Set up your phone for Telstra Mail
Press Settings.
Press General.
Press Accounts & sync.
Press ADD ACCOUNT.
Press E-mail.
Press Other.
Press the field below "E-MAIL ADDRESS" and key in your Telstra email address.
E.g. user@bigpond.com, user@bigpond.net.au or user@telstra.com.
Press the field below "PASSWORD" and key in the password for your Telstra email account.
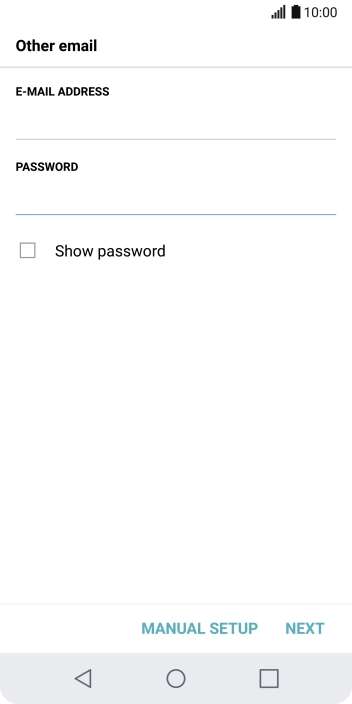
Press MANUAL SETUP.
Press IMAP4.
Press NEXT.
Press the field below "IMAP4 SERVER" and key in imap.telstra.com.


Press the drop down list below "SECURITY TYPE".
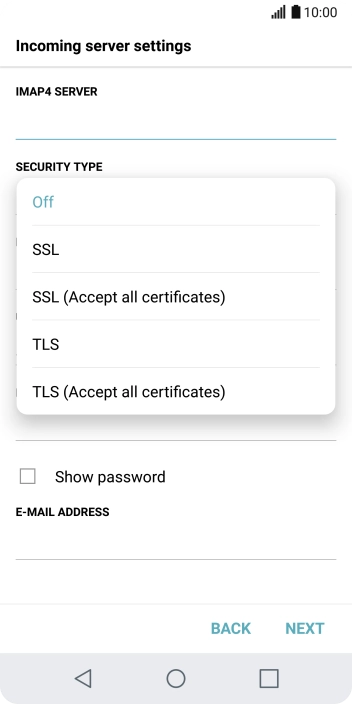
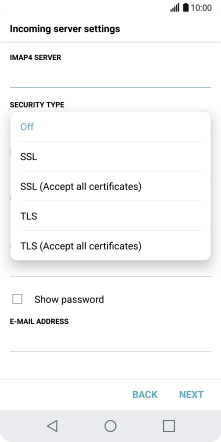
Press SSL to turn on the function.
Press the field below "PORT NUMBER" and key in 993.


Press the field below "USERNAME" and key in the username for your Telstra email account.
The username for your Telstra email account is your email address, e.g. user@bigpond.com, user@bigpond.net.au or user@telstra.com.
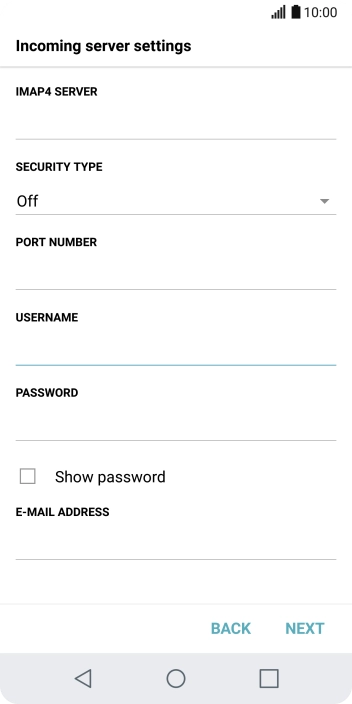

Press NEXT.
Press the field below "SMTP SERVER" and key in smtp.telstra.com.


Press the drop down list below "SECURITY TYPE".
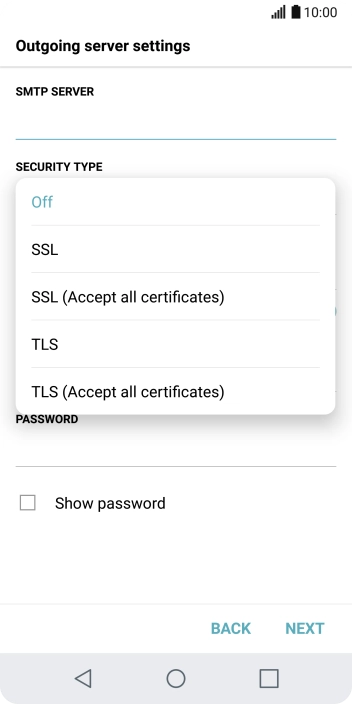

Press SSL to turn on the function.
Press the field below "PORT NUMBER" and key in 465.
Press the indicator next to "Sign-in required" to turn on the function.
Press the field below "USERNAME" and key in the username for your Telstra email account.
The username for your Telstra email account is your email address, e.g. user@bigpond.com, user@bigpond.net.au or user@telstra.com.
Press the field below "PASSWORD" and key in the password for your Telstra email account.
Press NEXT.
Press Sync schedule.
Press the required setting.
Press NEXT.
Press the field below "ACCOUNT NAME" and key in the required name.
Press the field below "YOUR NAME" and key in the required sender name.
Press DONE.
Press E-mail.

Press Email settings.
Press the required email account.
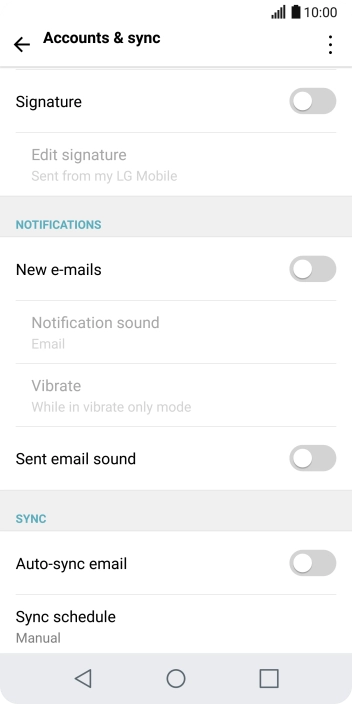
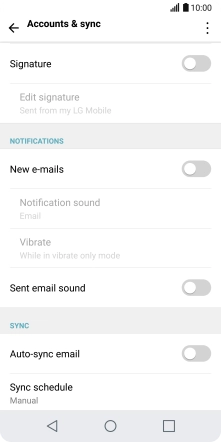
Press the indicator next to "New e-mails" to turn the function on or off.
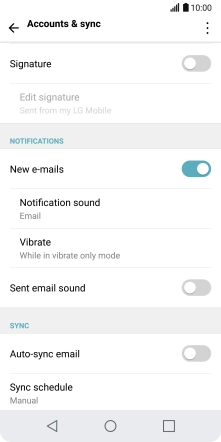
Press the indicator next to "Auto-sync email" to turn on the function.
Press the Home key to return to the home screen.
Step 1 of -
Step 1 of -
To send and receive IMAP email, your phone needs to be correctly set up for email.
Solution: Set up your phone for IMAP email
Press Settings.
Press General.
Press Accounts & sync.
Press ADD ACCOUNT.
Press E-mail.
Press Other.
Press the field below "E-MAIL ADDRESS" and key in your email address.
Press the field below "PASSWORD" and key in the password for your email account.
Press NEXT.
If this screen is displayed, you email account has been recognised and set up automatically. Follow the instructions on the screen to key in more information and finish setting up your phone.
Press IMAP4.
Press NEXT.
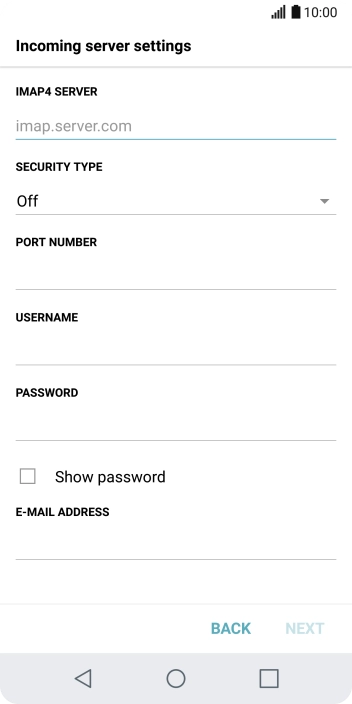
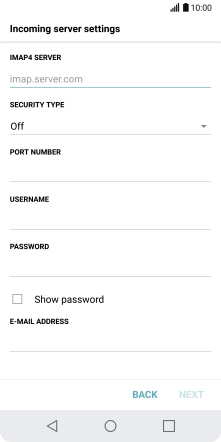
Press the field below "IMAP4 SERVER" and key in the name of your email provider's incoming server.
Press the field below "PORT NUMBER" and key in 143.
Press the field below "USERNAME" and key in the username for your email account.
Press NEXT.
Press the field below "SMTP SERVER" and key in the name of your email provider's outgoing server.
Press the field below "PORT NUMBER" and key in 25.
Press the indicator next to "Sign-in required" to turn on the function.
Press the field below "USERNAME" and key in the username for your email account.
Press the field below "PASSWORD" and key in the password for your email account.
Press NEXT.
Press Sync schedule.
Press the required setting.
Press NEXT.
Press the field below "ACCOUNT NAME" and key in the required name.
Press the field below "YOUR NAME" and key in the required sender name.
Press DONE.
Press E-mail.
Press Email settings.
Press the required email account.
Press the indicator next to "New e-mails" to turn the function on or off.
Press the indicator next to "Auto-sync email" to turn on the function.
Press the Home key to return to the home screen.
Step 1 of -
Step 1 of -